

|
|
How to Modify the new 32 bit System Icons.
In MacOS 8.5, Apple added a new file to the OS called System Resources. Inside are stored all the new 32 bit icons. Here's how to modify them using clip2icns.
Remember, ResEdit and Resourcerer do not currently provide editors for 32 bit icns resources. While other tools are in the works, clip2icns provides the best mechanism to insert icons into the System Resources file!
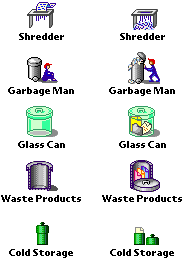 First, you need some icons! First, you need some icons!
If you have some favorite 32 bit icons you want to use, that's fine, but in this example we are going to stick with 8 bit icons because they are more plentyful.
What!? We're going to take 8 bit icons and stick them in the System where the 32 bit icons are?
Sure. No harm will be done, and if you're in an artistic mood, you can jazz up the 8 bit icons while in a paint program.
This group of icons is by Ilicon. Besides dozens of Trash replacements, she also has hard disks and matching folders. This set comes as ResEdit resources, so they're easy to work with.
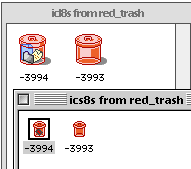
I chose the Red Trash can. Open the resources from your new download, and set them off to the side. We will need them in a minute.
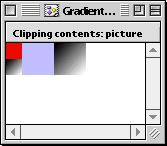 In the Goodies folder with clip2icns, there is a clipping called Gradient. In the Goodies folder with clip2icns, there is a clipping called Gradient.
Open it and copy it to the clipboard.
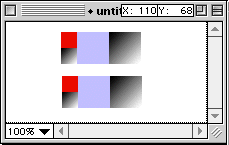 To assemble the replacement icon, I used GraphicConverter. To assemble the replacement icon, I used GraphicConverter.
Open a new document and past the clipboard in twice as shown.
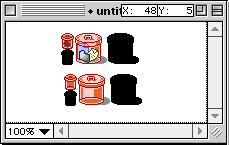 Carefully copy the 8 bit icon resources from the ResEdit file, and place them over your "template" in GraphicConverter. Carefully copy the 8 bit icon resources from the ResEdit file, and place them over your "template" in GraphicConverter.
You really need to be certain that you've correctly covered the template, and stay within its boundries. When finished, your image should look something like the one on the left.
 clip2icns requires that you copy the replacement icon to the clipboard. clip2icns requires that you copy the replacement icon to the clipboard.
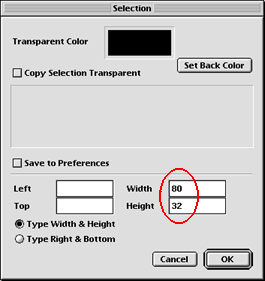
To make it easier, double-clip on the Selection tool in GraphicConverter to bring up the Selection window.
Set the selection size to 80w X 32h as shown.
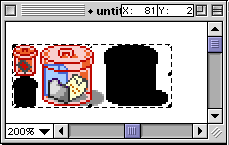 If you need to, zoom in, but make sure you select the correct 80 x 32 area or clip2icns will balk! If you need to, zoom in, but make sure you select the correct 80 x 32 area or clip2icns will balk!
Copy the replacement for Full Trash to the clipboard.
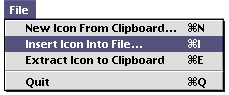 Launch clip2icns, and from the File menu select "Insert Icon Into File". Launch clip2icns, and from the File menu select "Insert Icon Into File".
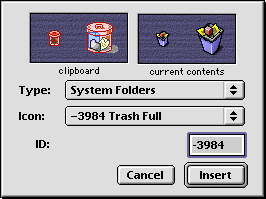 If your clipboard was prepared correctly, and after selecting the copy of the System Resources file, you will be presented with this window. If your clipboard was prepared correctly, and after selecting the copy of the System Resources file, you will be presented with this window.
From Type, select System Folder.
From the Popup Icon, select Trash Full.
Select Insert and the new icon will be correctly placed into the System Resources file.
You can repeat this process for as many icons as you wish. When finished, replace the original System Resources file with the modified one, and restart your computer. |
|


